Exploring New Things-CandleSticks
During the past 11 years my focus as a wood turner has been making bowls and cups. For 8 of those years I strictly used a pole lathe. For those who don’t know what that is— it’s an early lathe that is operated by pumping a pedal with your foot. In the past few years I have adopted a home made Japanese-style electric lathe and a Western electric lathe to do my work.
The pole lathe I use isn’t set up for spindle work. With pole lathes, the main difference between a spindle lathe and bowl lathe is the way the tool rest is positioned. Spindle lathes have a more fixed tool rest that is parallel to the work. The bowl lathes have tool rests that swing in or out on a pivot point to accommodate different diameter bowls. The tools used for spindle turning on a pole lathe are the same as electric lathes, gouges, skew chisel, etc… but for bowls the required tools are hooks. Bowl gouges don’t work effecitvely with the slow speeds of the foot powered lathe.
The Japanese-style lathe is a descendant of the strap lathe which is likely one of the original forms of lathes. I won’t go into either’s design or pedigree here. I’m writing a separate post about my research and studies in Japan which will clarify a few things for folks following along. But the point is that this type of lathe has only one center, so long spindle work is nearly impossible.
After adding the typical Western lathe with its two centers to my repertoire I can finally explore spindle turning. I’m beginning to accept being predominantly a woodturner and therefore the need to explore and ultimately master the basics of woodturning. There is a whole new set of tools and techniques with spindle turning. Up to this point I’ve only used hook tools—the traditional tools for bowl turning on the pole lathe and the Japanese-style lathe as well.
Beads, grooves and coves are a common feature with spindle turning. I admit I don’t understand how they all interrelate in pleasing ways. I’m guessing there are some rules that have been passed down over the generations, but I haven’t gone looking for them. Honestly, I’m not a big fan of that fancy stuff. Most of it looks really gaudy to me. Just because you can doesn’t mean you should.
Stefan’s candlesticks at North House Folk School 2017
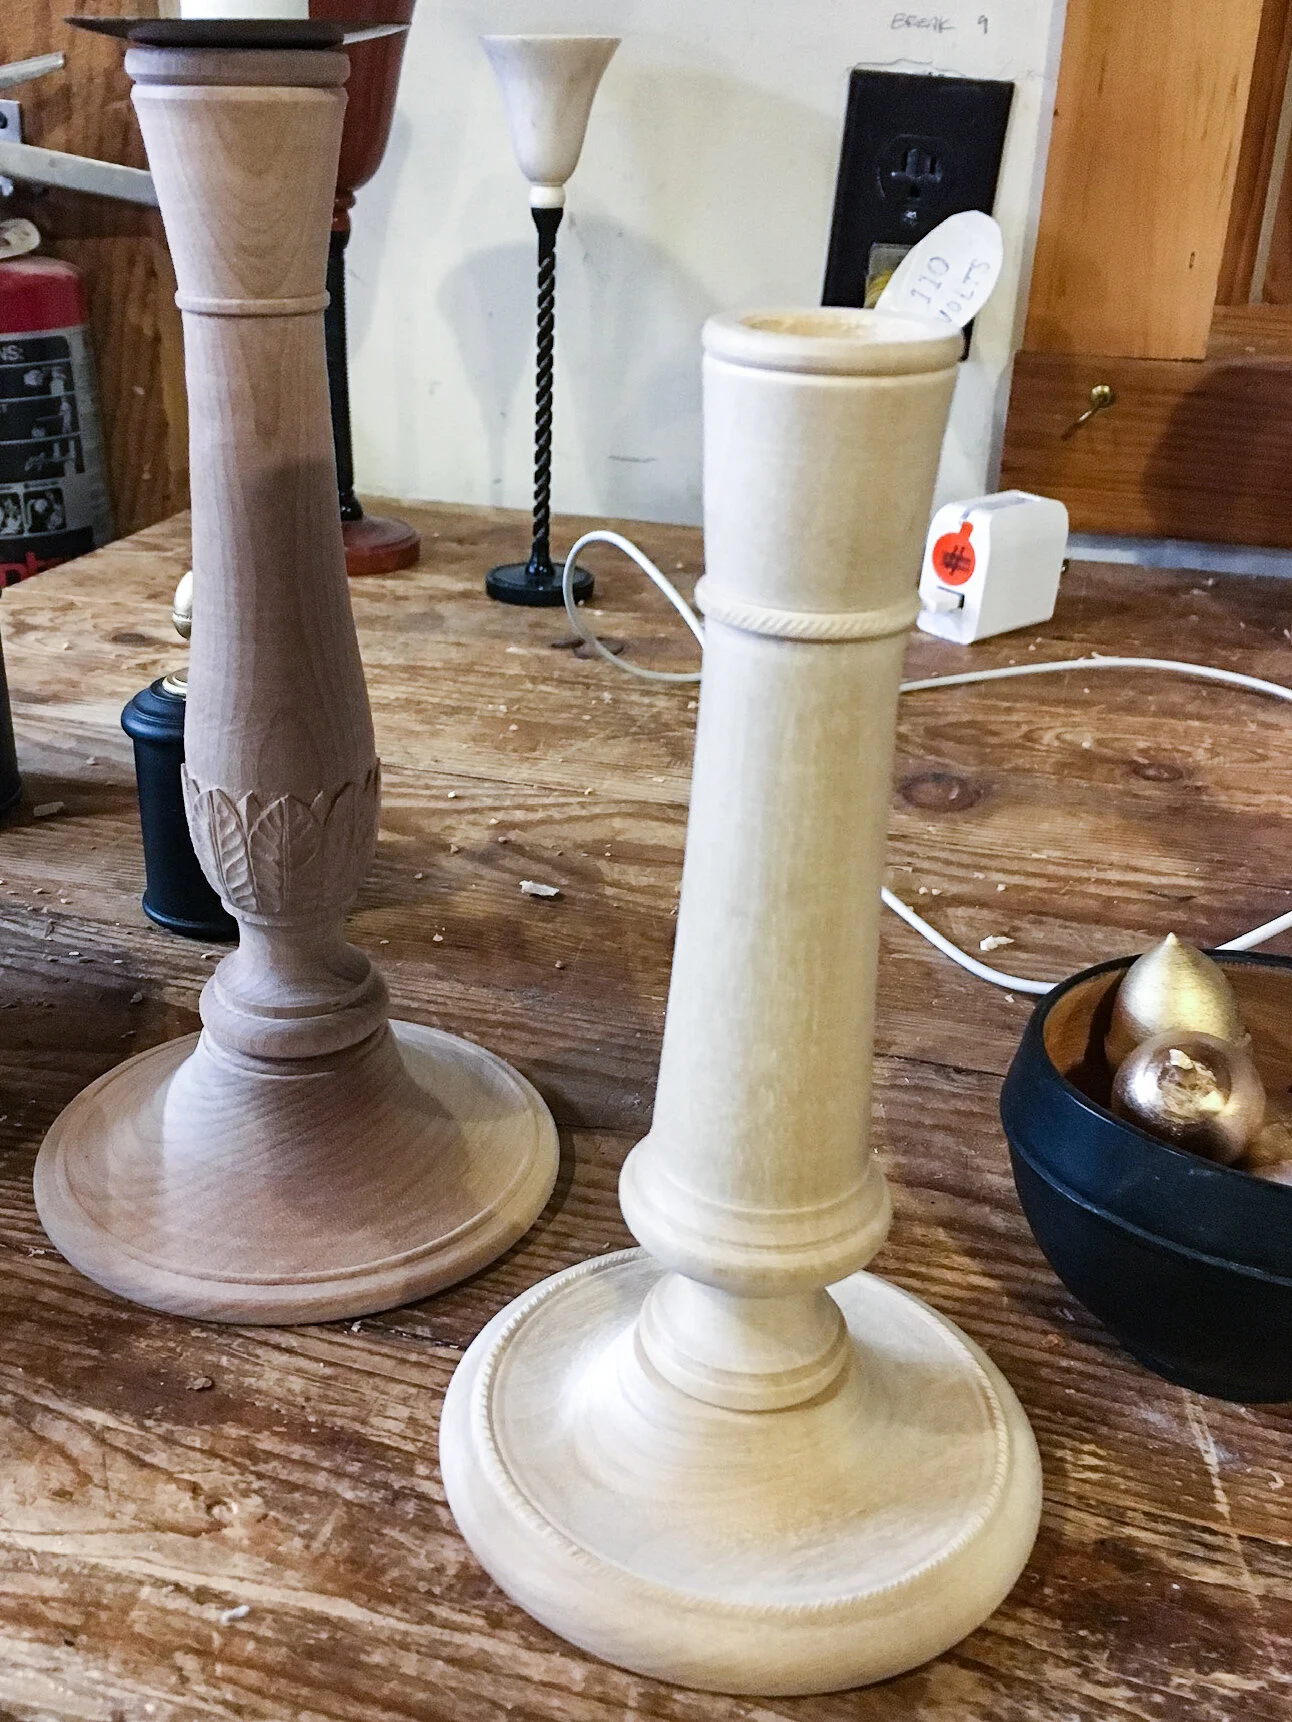
This brings me to the candlesticks. I was re-exposed to these when I met visiting Swedish turner Stefan Nordgaard at North House in 2017. Of course I knew that wooden candlesticks were made and used from the various books I have on treen, but I never thought about making any myself because of my lathe set-up. Stefan had some great design ideas that involved a little relief carving on the sticks. I regret not buying one. His design was made from two pieces. The main vertical part was spindle-turned. It was joined to the base by a tenon. The base was face turned and had the mortise for the tenon in the center. I later bought a candle stick from my friend Angela Robbins who was a student of Stefan’s.
For the past 2 years we’ve been lighting our evening meals with Angela’s candlestick and imagining the day I might be able to make one. A few weeks ago, after collecting the tools needed and practicing the techniques, I set out to design and make a small batch.
I knew I wanted to keep the design simple. I like clean lines. But I wanted to add a little something because the point of making these was to practice spindle techniques in a precise way—beads, coves, grooves…
I had two main designs in my mind, so I set out to turn them. As I mentioned in the Tea Canister Design post, I use my initial run to troubleshoot the process with a future larger run in mind and to explore the subtleties of the design.

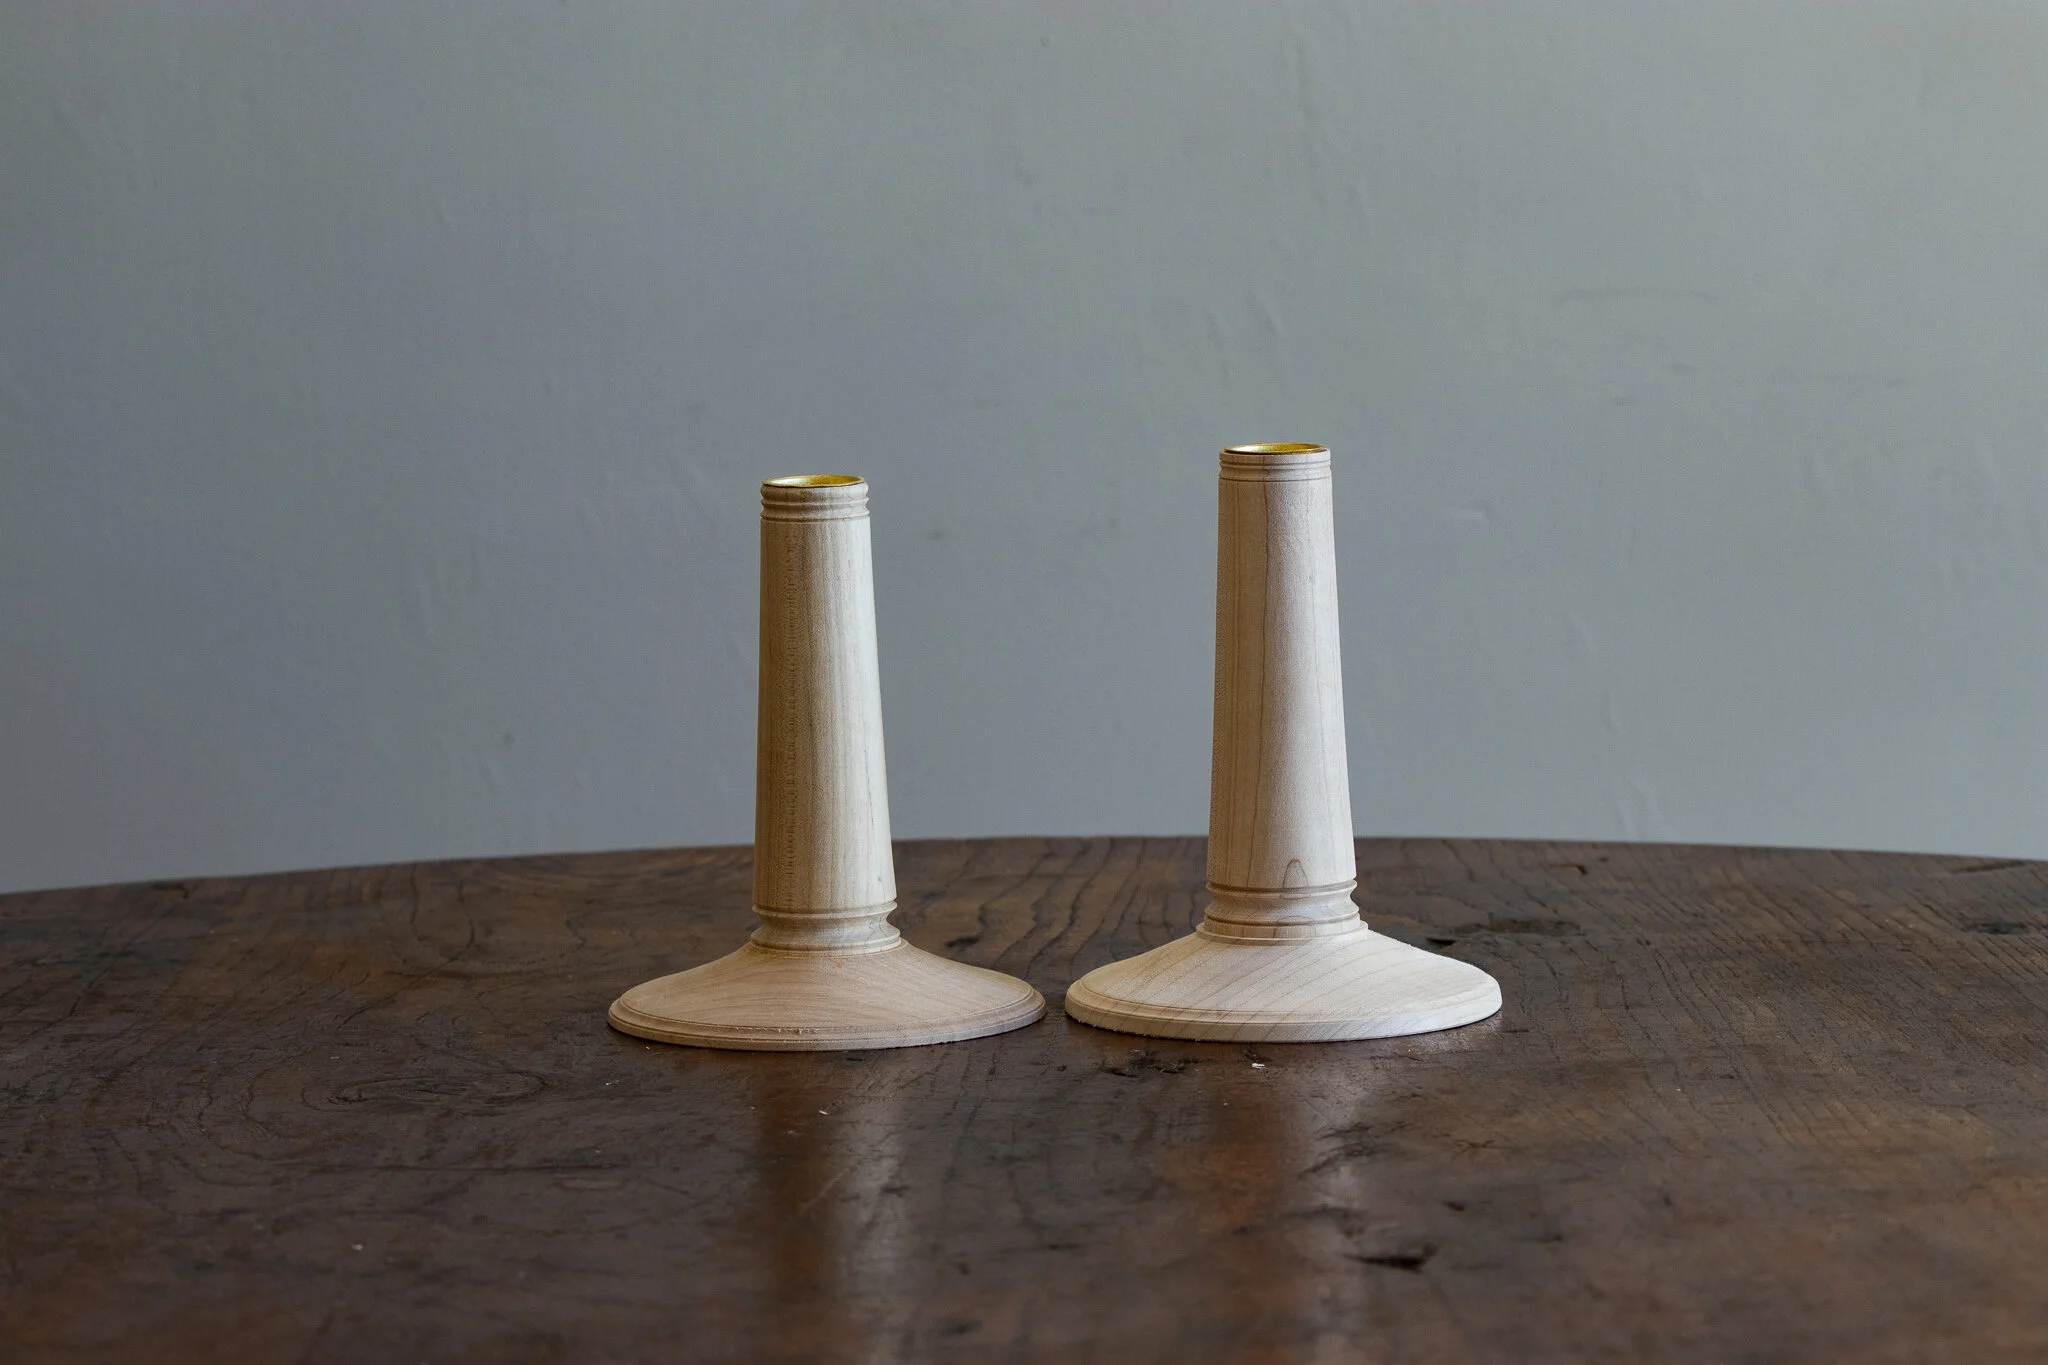
My first two prototypes.
After making the first two prototypes Jazmin and I sat down to discuss them. I like to give due diligence to my work— especially when I plan on repeating the design. What's good or bad about it? How’s the balance? What does it look like with an actual candle in place?—more height.
My aim is to look at things honestly and find a balance between objective and subjective views. Maybe someday I’ll write about that more. Fundamentally I believe in a universal aesthetic and that pride in workmanship can be blinding.
After some reflection, I decided to abandon the design of the shorter candlestick because I couldn’t figure out where to go next on its design development. I’ll pick this design back up and explore it later.
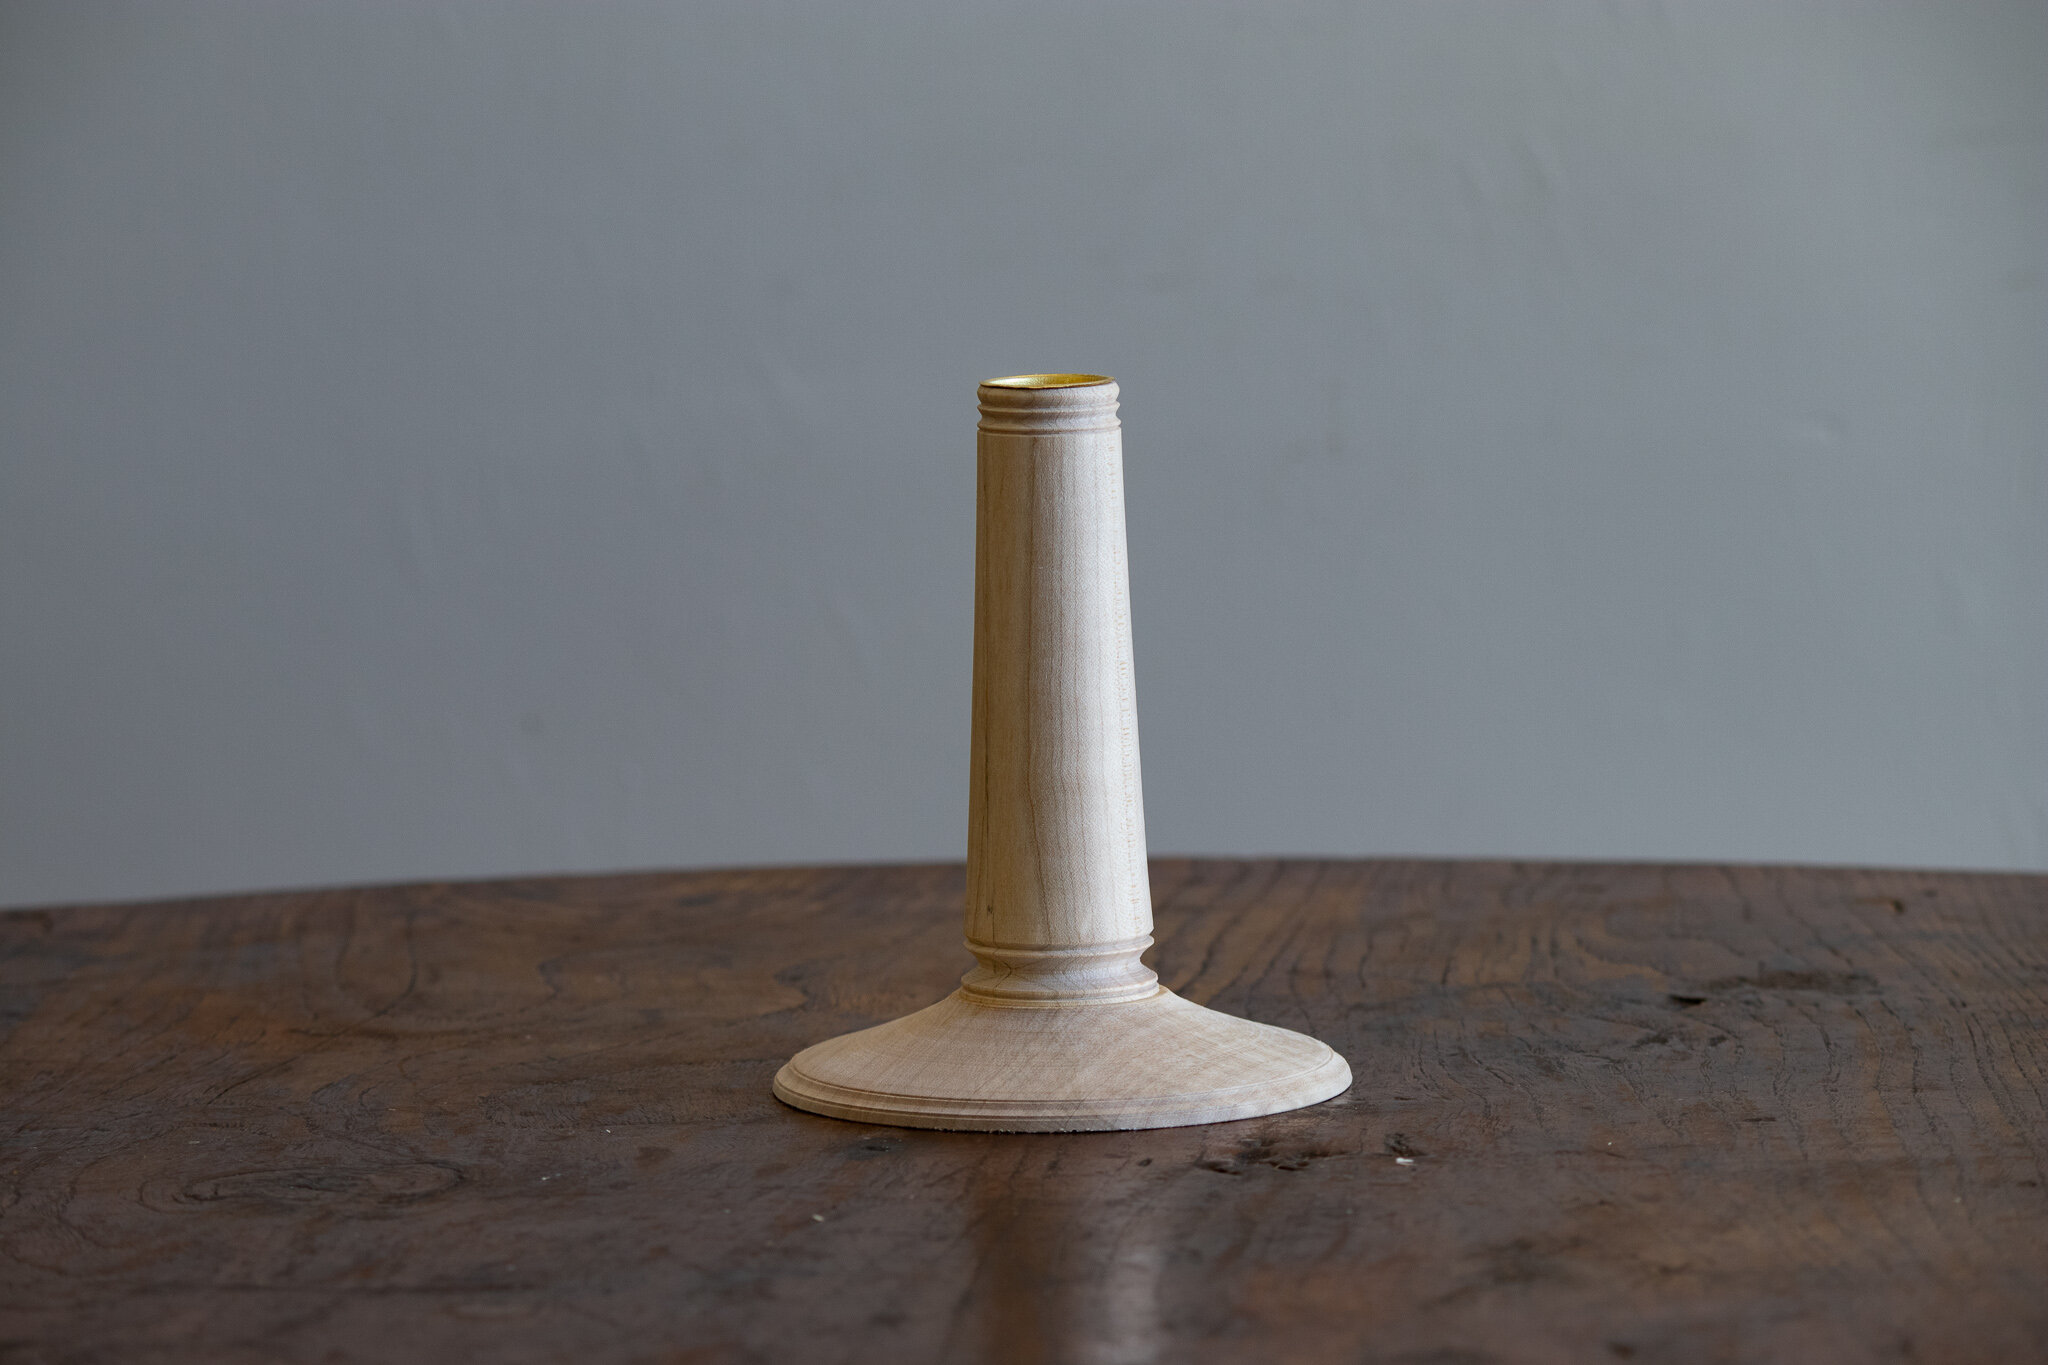
I then made four more. With these, I tweaked the bases, playing with their heights. The bases of the first two were a little flat, which affected the concave top surface of the base. The added height to the base increased the overall height of the candlestick. We both thought that the groove and cove at the intersection of the base and the upright piece was nice, but it needed some tweaking. Maybe a wider cove? So I played with that a little. The top also needed something. Maybe a smaller groove and cove to balance it out. You can see in the photo I added a small bead to three of them and dropped it lower on one. Sometimes extreme changes can be revealing. I also played around with the cylinder’s bottom diameter which affects the subtle concave curve all along the height.

Which wooden candlestick is the best here?
We sat down again and compared them. Generally I prefer to compare as many objects as I can when looking at the subtleties of design. In this case four is better than two. We agreed that the two with small beads at the top had potential. They both had bases that fit in pretty well. The diameter and slight concave on the main cylinder looked good too.
We then had to choose again since the goal is just one design. Take a close look at all the differences between these two pictured above and decide which you would choose and why. We settled on the one photographed below. You can also see it compared to the original prototype. Can you see the differences?

Not done yet! After setting them aside for a few weeks I made another seven. I only had a small window of time otherwise I would have made more. With the chosen one at my side I set up my calipers for height, top and bottom diameters and turned the top pieces. While turning I decided that the design needed a larger bead at the top. This forced me to change the intersection where the bead and the groove and cove met. Something wasn’t right. The light and shadow wasn’t looking good. I kept adjusting it with each new piece. I settled on the left one in the photo below which omits one groove at the top of the cove.

I am getting closer…
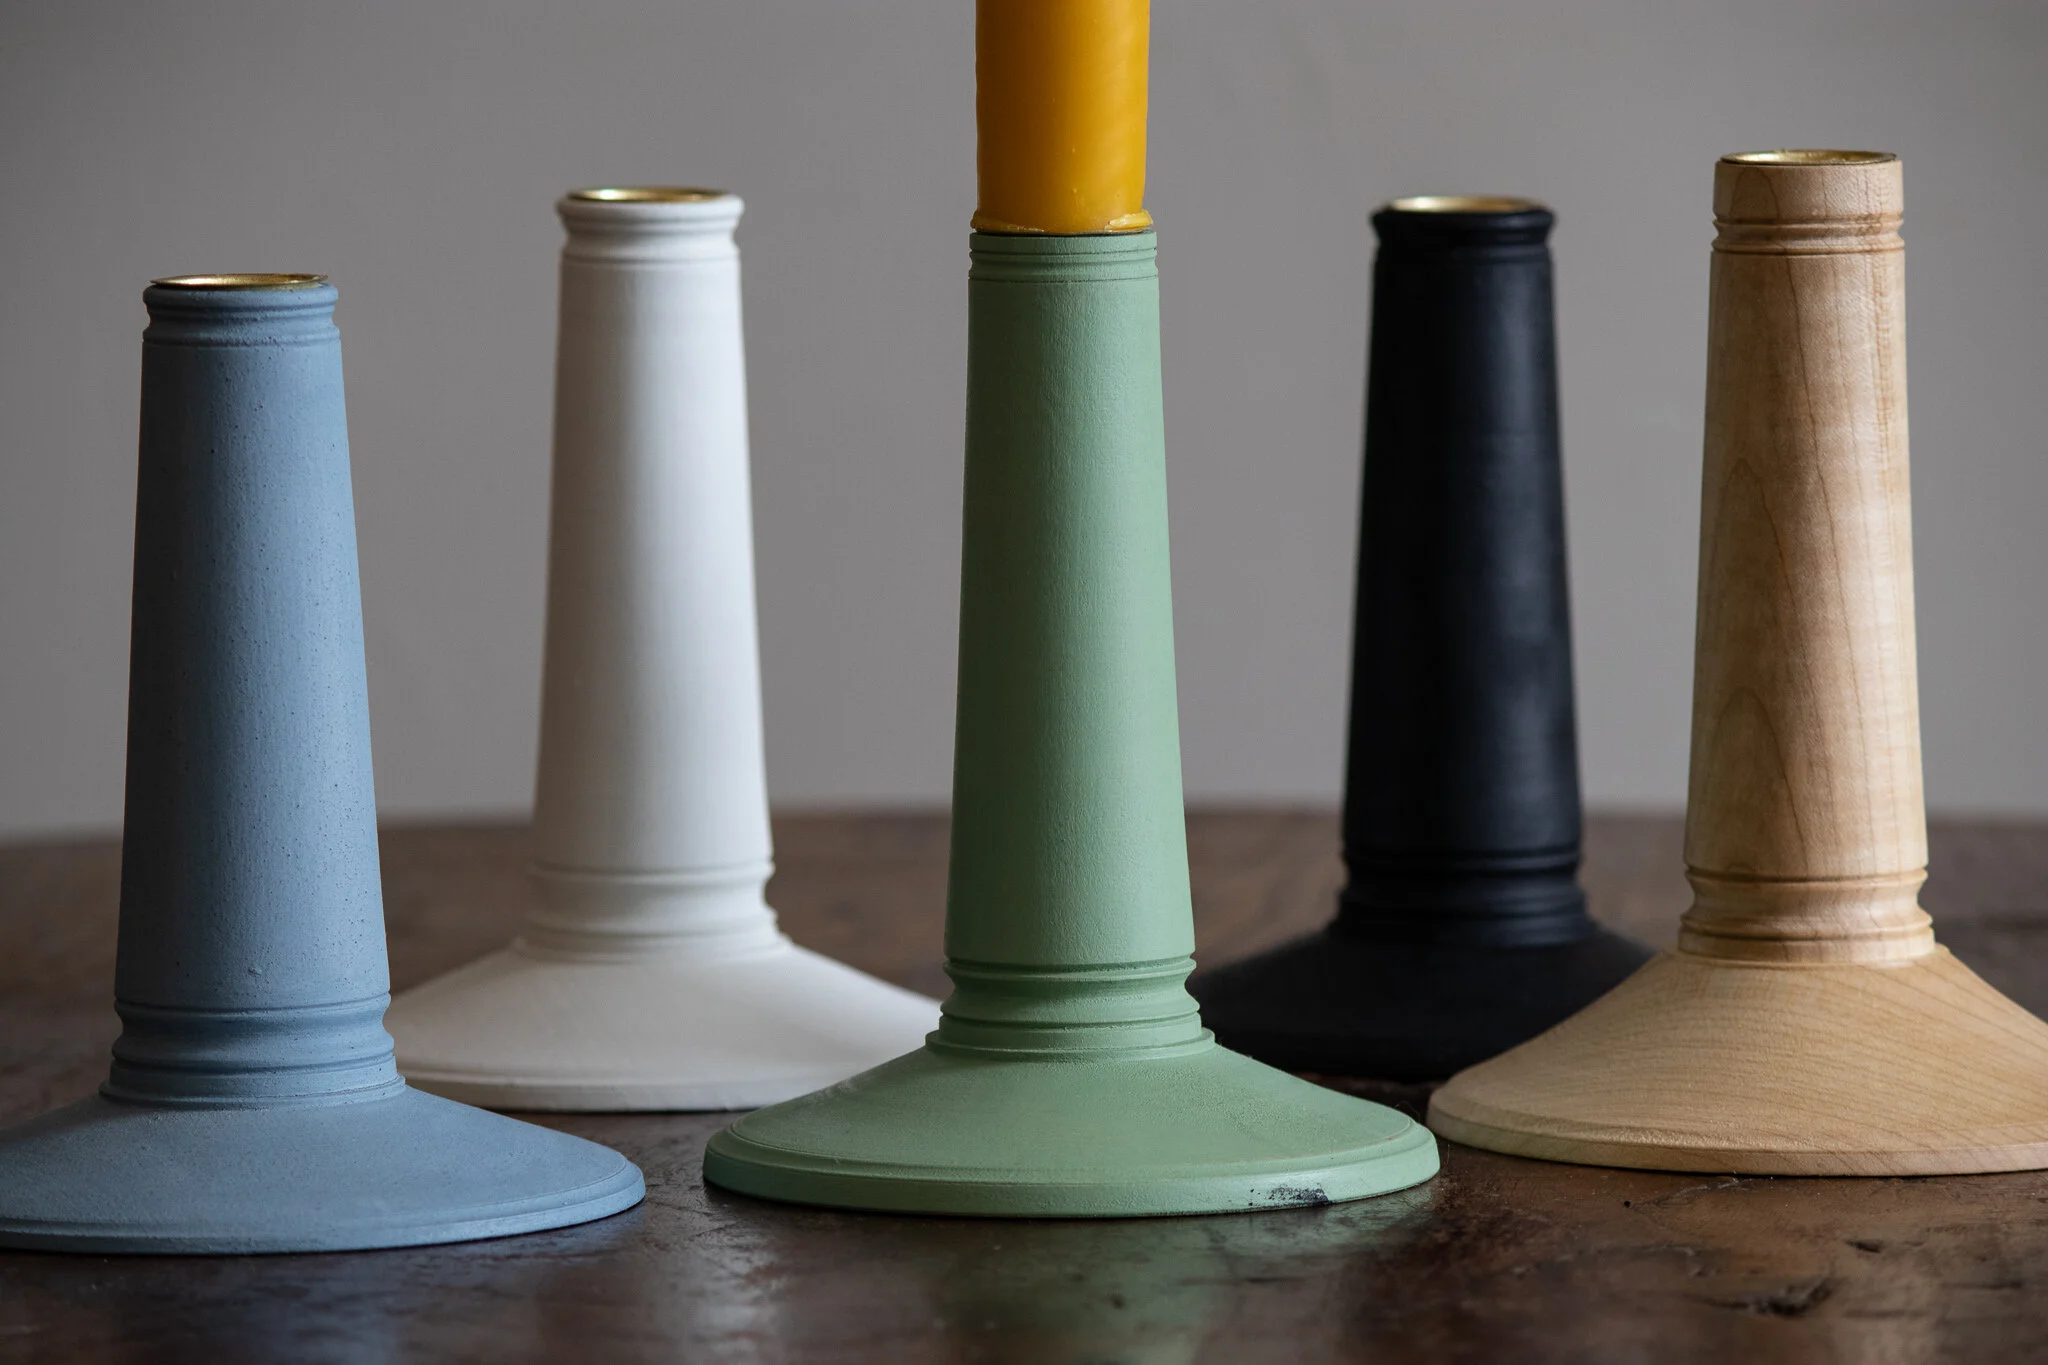
Below is a comparison of three different iterations. After I’m done with whatever it is I’m making I hand it off to Jazmin. She then picks and applies the colors. Sometimes mixing a custom color or tweaking a premixed color. For this batch she took inspiration from the historic homes of Charleston, SC where her son is studying. Sometimes I don’t agree with her choices and have to rein her in—hot pink? Monticello Yellow?…ummm no.

After turning bowls for so many years I’m not surprised at how such little details influence the whole. One slight change can make a bowl really stand out or make it seem dull. Maybe this is why I love turning or spoon carving so much. I get to explore these subtleties constantly and see the results fairly quickly too. My need for instant gratification likes that. When I was building houses it took months in order to see the finished object.
I’ll be adding candlesticks to my regular line up. This first batch and the prototypes will be available on our webshop tomorrow, September 30th. But I will be further adjusting the designs of these in small increments like I do with all the regular forms I create. I wonder what they will look like next year?